Jump ahead to:
Using the Gmail aliases feature (“Send mail as”)?
Why not just use Google G Suite? Which makes it easy to have email addresses that are within your domain:?
Because when compared to the cost of G Suite, it’s really cheap to do so.
G Suite costs $6 per month per user, and while you get a lot more with G Suite than just email addresses that are within your domain, if you need 6 such email addresses, it costs $36 per month.
For a solution using the Gmail alias feature, there is $3 a month, for an unlimited number of email addresses within your domain.
How do you set this up?
Which services might cost?
First, let’s talk about what you have to pay for. You’ll need to subscribe to a mail forwarding service so that email inbound to your domain is properly delivered to your Gmail accounts.
For this tutorial we are recommending the email forwarding service of Forward Email.
Why? Because it works reliably, is fairly easy to setup, and costs only $3 a month.
For Forward Email, they have a free version, but I could not get it to work, so I subscribe to their lowest cost plan at $3 per month which allows for unlimited domains and unlimited email addresses within each domain.
Additionally, if you want a “catchall” email address for your domain, which I strongly recommend, it looks like you MUST subscribe to a paid plan.
Getting setup requires various steps, which are identified below. You can and should test steps where you can, and this too is identified below.
The list of steps are:
Setting up inbound email forwarding
- Setup an email forwarding service (Forward Email).
- This includes setting up what are called the Mail eXchange (MX) records within your DNS, which their instructions walk you through.
- Setup email forwarding within the service.
- Test that email forwarding works.
Step 1: Setup the email forwarding service
- Go to forwardemail.net, and sign up.
- Subscribe to their Enhanced Protection plan, at $3 a month.
- To setup your domain, select your domain, select the button Setup, and follow their instructions.

Step 2) Setup email forwarding within Forward Email
To setup your aliases, select your domain, select the button Aliases, and follow their instructions.

Step 3) Test that email forwarding works
You do this by sending email from an email address NOT within your domain, to the various email addresses which you’ve setup forwarding for, to ensure the email is being properly forwarded and delivered.
Step 4) Double check
By which I mean, until you’re absolutely sure that inbound email forwarding is working for you, do not proceed to step 4. If it’s not working, circle back.
Only after inbound email forwarding is fully functional should you move on to setting up your outbound SMTP relay for outbound email.
Setting up outbound Gmail SMTP relay
- Setup two factor authentication on your Gmail account.
- Obtain your Gmail SMTP relay app password.
- Start “Send as” setup within Gmail.
- Configure the SMTP relay within Gmail.
- Obtain and enter the Gmail SMTP relay verification code.
- Within Gmail, make your branded in domain email address the default.
- Test that mail sent from the Gmail account shows as From the alias, not the Gmail account itself.
Forward Email has a good YouTube video that shows how to do this, but they leave off two critically important things, which matter greatly.
While they do say to “make sure you have 2-factor authentication enabled”, they don’t then say “or else the next step will fail”.
They also omit my step 6 entirely, but it matters.
To view the Forward Email tutorial video on how to use Gmail’s “Send Mail As” function, click the link earlier in this sentence.
Step 1) Setup 2 factor authentication
To be able to generate the Gmail SMTP relay password you need to obtain in the next step, you must first turn on Gmail 2 factor authentication.
For detailed instructions on how to do this, click the link in the previous paragraph.
Step 2) Obtain your Gmail SMTP relay app password
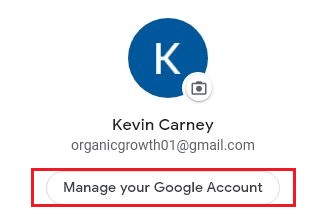
2a) Select your profile icon within Gmail.

2b) Select the button “Manage your Google Account”.
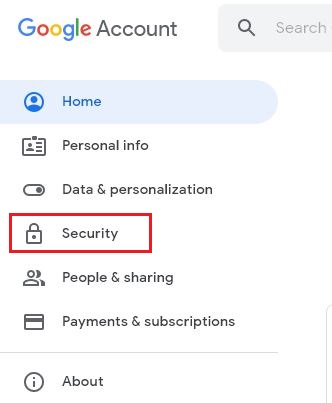
2c) On the next screen, select “Security” on the left side of the screen.
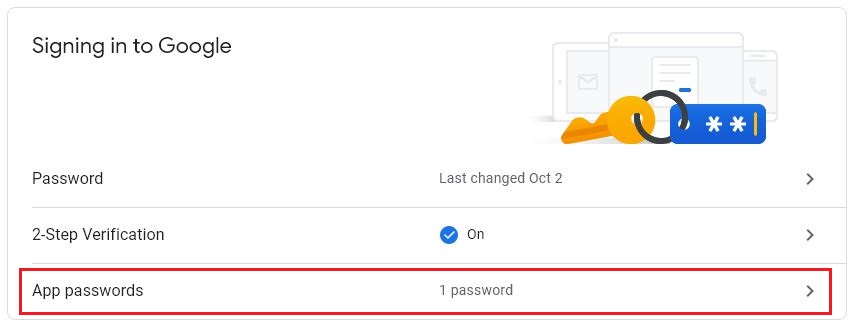
2d) Scroll down to the section “Signing in to Google” and select “App passwords”.
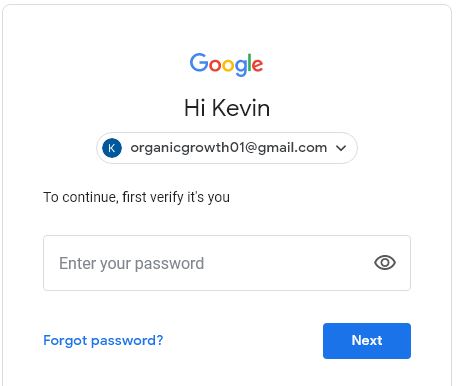
2e) To proceed, you must enter your Gmail account password.
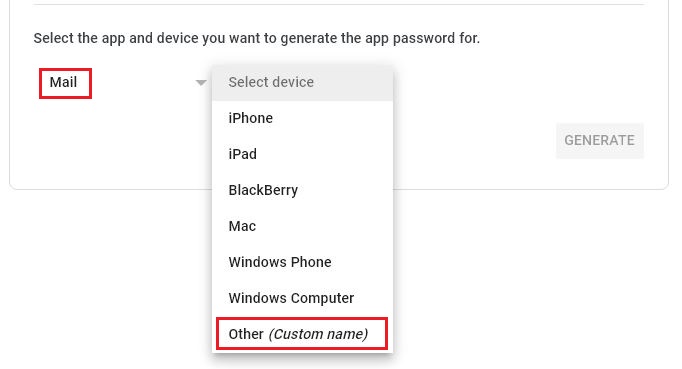
2f) Select “Select app” and set to “Mail” and select “Select device” and set to “Other (Custom name)”.
2g) You will then be prompted for the Custom name, which needs to be the in domain email address you’re going to send mail as from this Gmail account. Then select the button GENERATE.

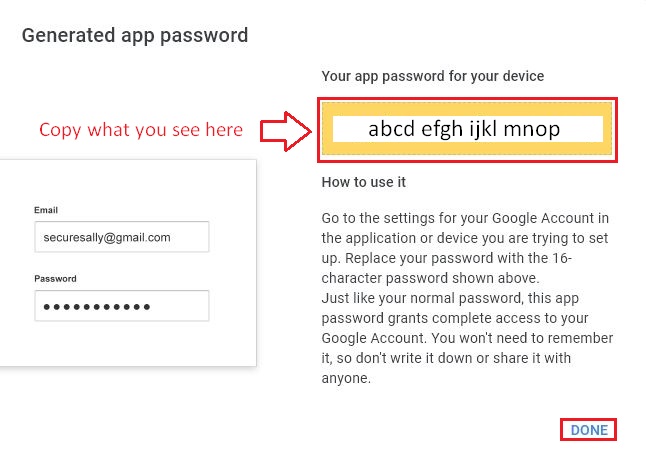
2h) You will then be shown the app password you just generated. Copy it as you’ll past it during the next steps. After you’ve copied the app password, select DONE.
2i) Return to your inbox. You should see an email saying you created an App password.
Step 3) Start “Send as” setup within Gmail
3a) Be in your Gmail inbox, and select the icon Settings .

3b) Select the button “See all settings”.

3c) Select the tab “Accounts and Import”.

3d) In the section “Send mail as”, select “Add another email address”.

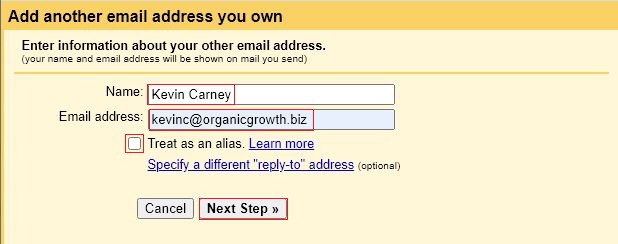
3e) Enter your name, your “in domain” email address (which is the email address you as Sending As, and uncheck the box “Treat as an alias”, then select the button “Next Step”.
Step 4) Configure the SMTP relay within Gmail
NOTE: During this process you will paste the Gmail SMTP relay password you copied earlier.
4a) The last part of step 3 left you at this screen.
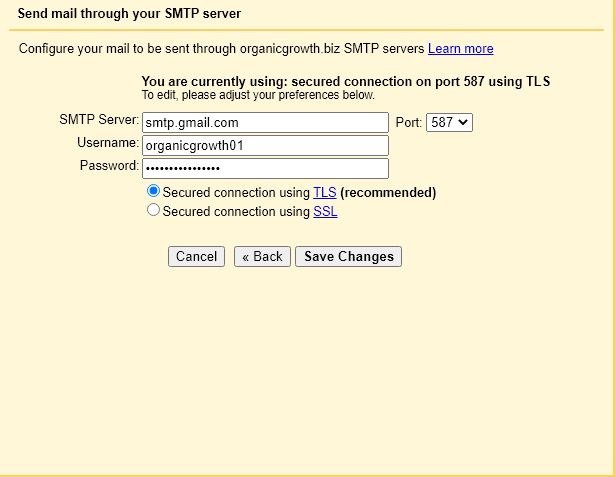
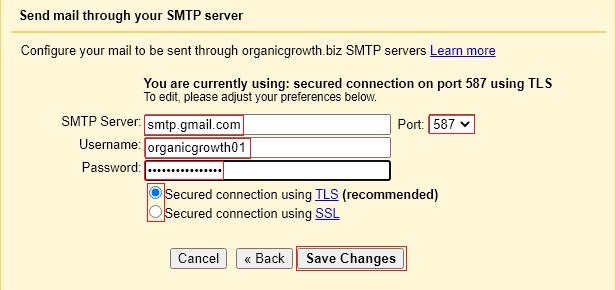
4b) Set the fields are follows:
- SMTP Server: smtp.gmail.com
- Username: The name of your ACTUAL Gmail account, minutes the “@gmail.com” part.
- Port: 587
- Password: Here paste the password from step 2 above.
- Select: Secured connection using TLS
- Unselect: Secured connection usintg SSL
Then select the button “Save Changes”.
Step 5) Enter the Gmail SMTP relay verification code, click the confirmation lin
NOTE: You need to BOTH copy and past the confirmation code AND click the link in the confirmation email.
5a) The next screen you see looks like this:
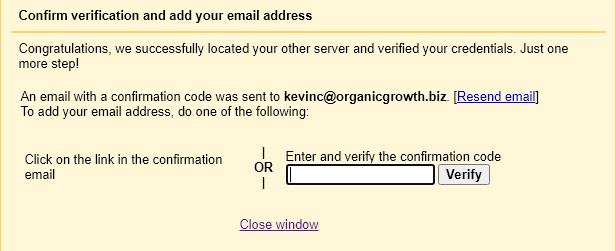
5b) Go to the inbox of where email to your “in domain” address is delivered, and find the email with the confirmation code.

5c) Copy the confirmation code from the email, and paste it into the verification code input field from the prior step, then select the button “Verify”.
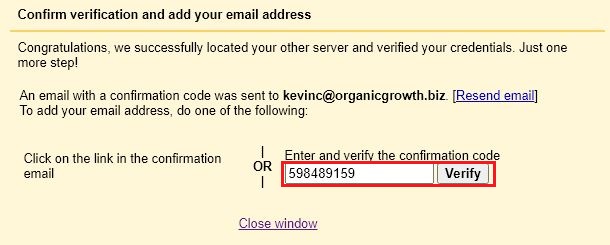
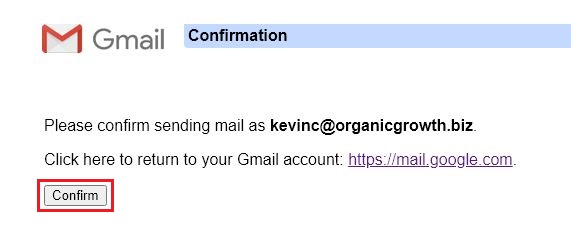
5d) Return to the verification email and click the verification link. On the next screen, select the button “Confirm”.
Step 6) Make your “in domain” email address the default.
6a) Return to the Gmail inbox and select the icon Settings.

6b) Select the button “See all settings”.

6c) Select the tab “Accounts and Import”.

6d) Scroll down to the section “Send mail as”, find the email address you just defined, and ensure the following are selected:
- For your desired Send mail as email address, select “make default”.
- Under “When replying to a message”, select “Replay from the same address the message was sent to”

Step 7) Test
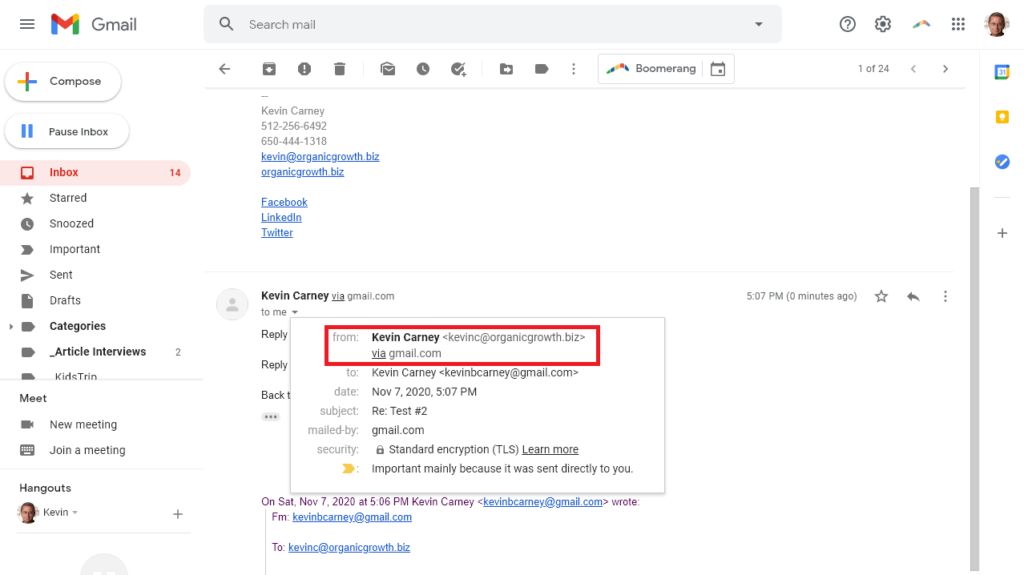
Test that mail sent from the Gmail account shows as From the alias, not the Gmail account itself. You need to do two tests:
7a) Send an email from the Gmail account to another email account and check the “From” field in the email header.
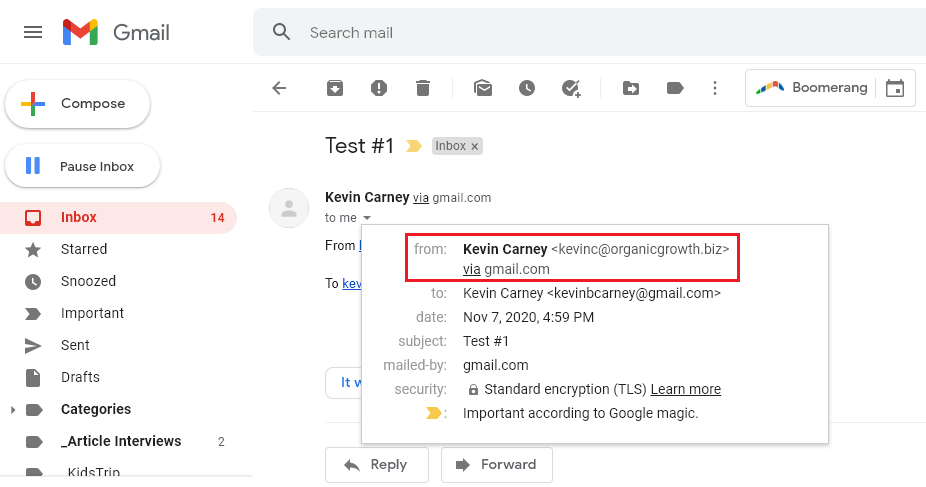
7b) Send a reply back to an email from another email account and check the “From” field in the email header.
